Dear GROW Graduates,
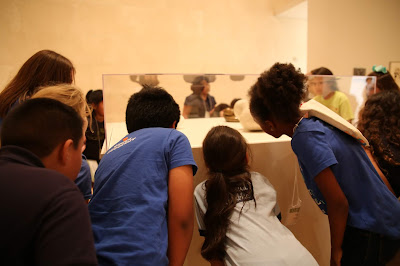
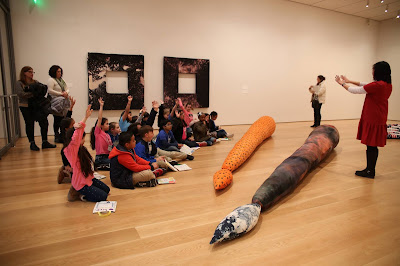
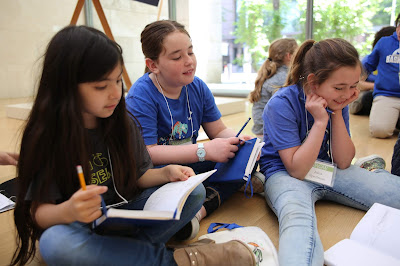
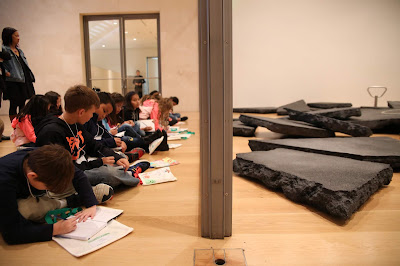
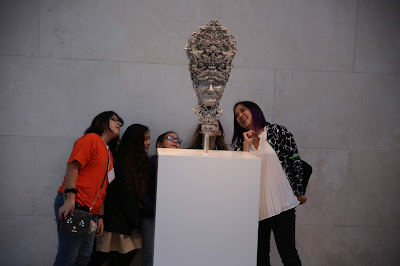
I so enjoyed getting to know you over the past four years. You have big imaginations, big hearts, big smiles, and more than a little silliness. I love hearing your thoughts and ideas related to artworks and artists. I don't have many photos from this year, your final year with GROW, but I do have these wonderful photos from past blog posts about your first, second, and third year with us. 💖
SECOND GRADE
FOURTH GRADE
FIFTH GRADE
Please know I'm celebrating all of you! Celebrate with me and make a graduation cap. Gather the materials below and follow the instructions. If you don't have the exact materials, use whatever you have at home.
Materials
8½" x 11" paper or similar
Pencil
Crayons, markers, colored pencils - your choice
Ruler
Scissors
Glue
Thread, yarn, kite string, ribbon or similar (optional)
Tape
For cap top:
The cap top should be a square. If your paper is rectangular in shape, follow the steps below.
- Measure short side of paper
- Cut long side of paper to make a square
- Or, skip the measuring and make your best guess :)
- Optional: decorate cap top however you like!
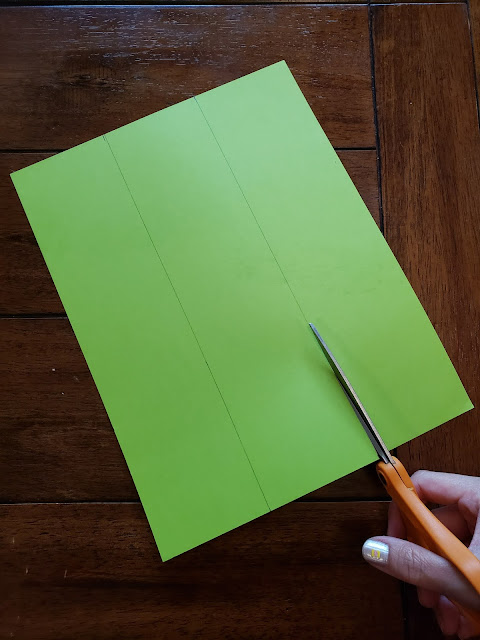
- Cut a piece of paper in thirds (for 8½" x 11 paper, that's roughly 2 13/16" wide)
- Cut small slits along one long edge of the paper. The slits should be about ½" long, 1" apart.
- Tape or glue the pieces together to make a circle. Measure to make sure it will fit on your head!
- Fold tabs down
- Draw a circle with glue on the underside of the cap top. Cover glue with tabs on cap top.
- Fold the end of a string, piece of yarn, or ribbon at the end like an accordion
- Use a separate, small piece of string to tie a knot around the tassel
- Cut the loops at the end of the tassel
- You can also make a tassel out of paper!
- Use tape or glue to attach to cap top
CONGRATULATIONS GRADUATES!! I am so proud of you and your hard work. If you make a graduation cap, please send Ms. Lawson a photo!
Cheers,
Ms. Melissa


